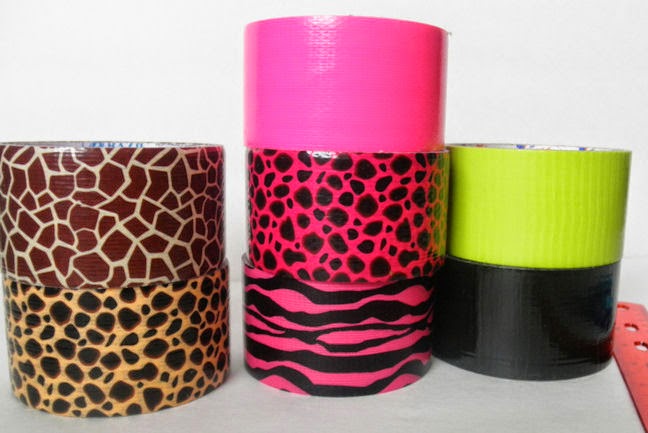
My local dollar store (99cents only store) has a really neat selection of duck tape. I picked up a few rolls just to see what I could make. Then came the whole American Girl craze to our house. As I stated before, we purchased a Journey Girl for our daughter. Next thing I know, I am on Pintrest looking at all things AG related.
I am going to make some skirts and a tutu for her doll. This will be part of her birthday gift. I also began to see some really cute accessories for the dolls. That got me to thinking about the duck tape I picked up.
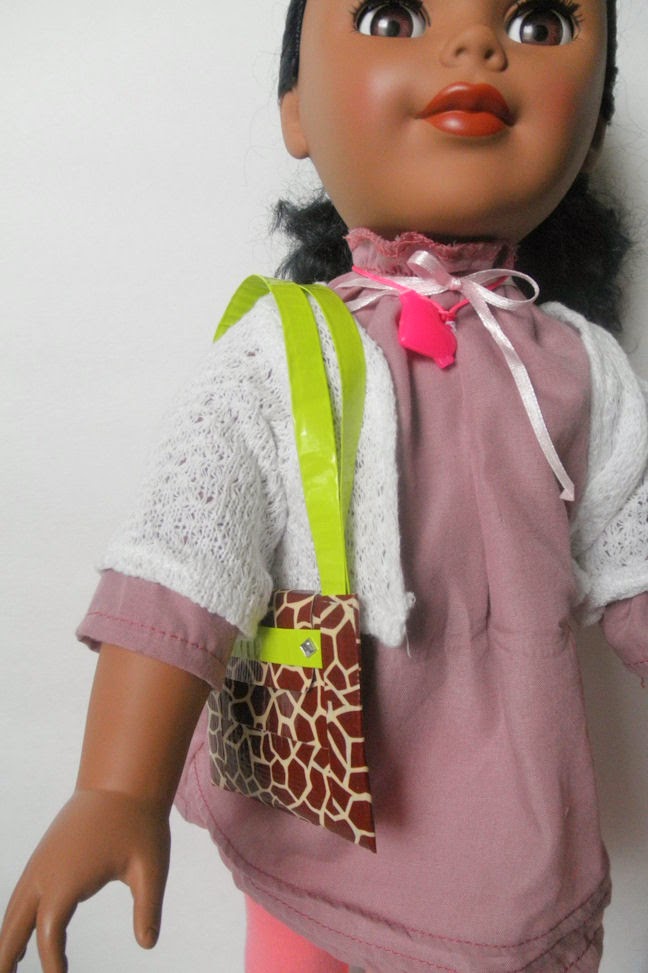
I decided to start simple and made a duck tape purse for her doll. Then, because I can't help myself, I decided to make special goody bags for her friends with AG dolls. These goody bags will each include a purse as well. So here I am making a dozen purses. I have completed 7. The only reason I haven't finished is because I got distracted. I decided to make AG necklaces, bracelets and headbands as well. I make a couple of purses and the then shift gear to something else.
Making purses is really easy. I am sharing my process. Think of this as a starting point.
Here are the duck tape cuts you will need:
3 6" pieces (body)
1 3 1/2" piece (body) -- cut in half for 2 pieces 3 1/2"
1 4" piece (purse flap)
1 3" or so (flap hold) -- cut in half for 2 3" pieces
1 10" pieces (handles) or 7" for a shoulder bag -- cut in half for 2 pieces 10" or 7"
Some extra to tape down the handles and the flap hold.
Attach the 3 6" pieces to make a large square.
Then fold this in half and trim as needed. This is the body of the purse.
Take a 3 1/2" piece (which is half of the original piece I cut) to close up the side of the purse. You just trim off the extra.
Now the body is done for now. On to the handles.
Cut a 10" piece of duct tape and then cut it in half. Each of these long pieces gets folded onto itself to make the handle.
Tape the completed handle to the inside of the purse. Repeat for the other side.
Now take a 4" piece and fold it over leaving about an inch of exposed sticky side. This is the flap for the purse. Trim it up to make sure it fits between the handles and round the edges to give it a finished look. Just tape it onto the back of the purse.
To hold the flap down, cut a piece of tape as long as my purse and cut it in half. One of these gets folded in on itself. Trim it if needed and tape it to the front of the purse taking care to make sure the flap can slide in and out.
The purse is now done. You can add some sticky jewels or leave it as is. You will also notice that on some of the purses I used two color duct tapes to add contrast. Please let me know if you have any questions or any problems.
Also, let me know if you would like me to post a tutorial on the AG necklace, bracelet or headband.
Thanks for stopping by!!
Friday, May 23, 2014
Wednesday, May 21, 2014
American Girl Madness
My daughter is about to be 6 years old. She had always been the little girl taking her baby places or a stuffed animal. Recently she has been asking about an American Girl doll. We have multiple friends who have daughters that own AG dolls. While I do not judge them, I cannot bring myself to justify buying such an expensive doll. (Especially since I can just picture my 2 year old dragging it around by the hair.)
Since an AG doll is all she has been asking for, I set out to evaluate the alternatives. (Maybe I should do a post on the comparison.) My husband and I decided to purchase a Journey Girl. This doll is available at Toys R Us.
While her birthday is still weeks away, I am making accessories for her doll. I made a really cute duck tape purse for it and decided to make some for AG goody bags for the party. I am going to do a tutorial since it was actually very easy and my daughter LOVES it. She has asked me to make her one in every color.
Now if only I could figure out how to make a bed.
Keep an eye out for the tutorial!!
Thanks for stopping by.
Subscribe to:
Posts (Atom)


